Interactive Field Guide
Foundation and Resource Management
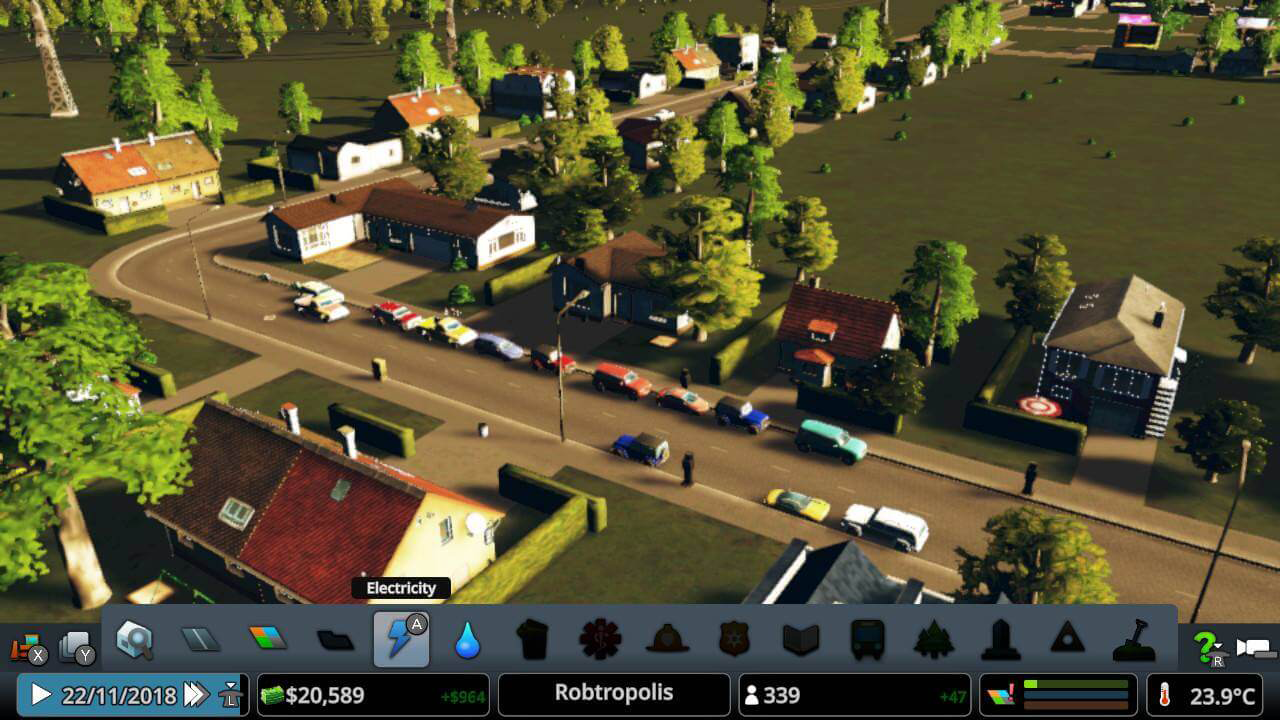
Welcome to city planning! Before you place your first road, you need to understand the core resources that keep your city alive. Every city in Cities: Skylines requires three fundamental services: electricity, water, and sewage disposal. Your starting tile gives you limited space, so choose your power source wisely. A coal power plant produces 40 MW but creates pollution, while a wind turbine generates only 8 MW but runs clean. Water pumps must be placed near freshwater sources, and here's a critical rule: never place sewage drains upstream from your water pumps, or your citizens will get sick.
The game operates on a tile system where each map contains 9 buildable tiles initially (you can unlock up to 25 tiles total). Your first tile is free, but additional tiles cost increasingly more as your city grows. Start by building near your highway connection—this is your lifeline to the outside world. Resources flow in, goods flow out, and your city's economy depends on this connection. Plan your industrial zones near this highway to minimize traffic through residential areas. Your map also contains hidden natural resources—oil, ore, forestry, and fertile land—visible only in the Natural Resources info view. These enable specialized industry districts that produce 40% more tax revenue than generic industry.Key Starting Resources:
- Electricity: Required for all buildings to function Water: Citizens need 60 units per household
- Sewage: Processes waste to prevent sickness
- Road connection: Links your city to external trade
- Starting cash: $70,000 (spend wisely!)
- Natural resources: Oil, ore, forestry, fertile land for specialized industry
Critical Resource Terms:
- 40 MW: Coal power plant output capacity
- 8 MW: Wind turbine output capacity
- 60 units per household: Water consumption rate


The RCI Demand System and Zoning
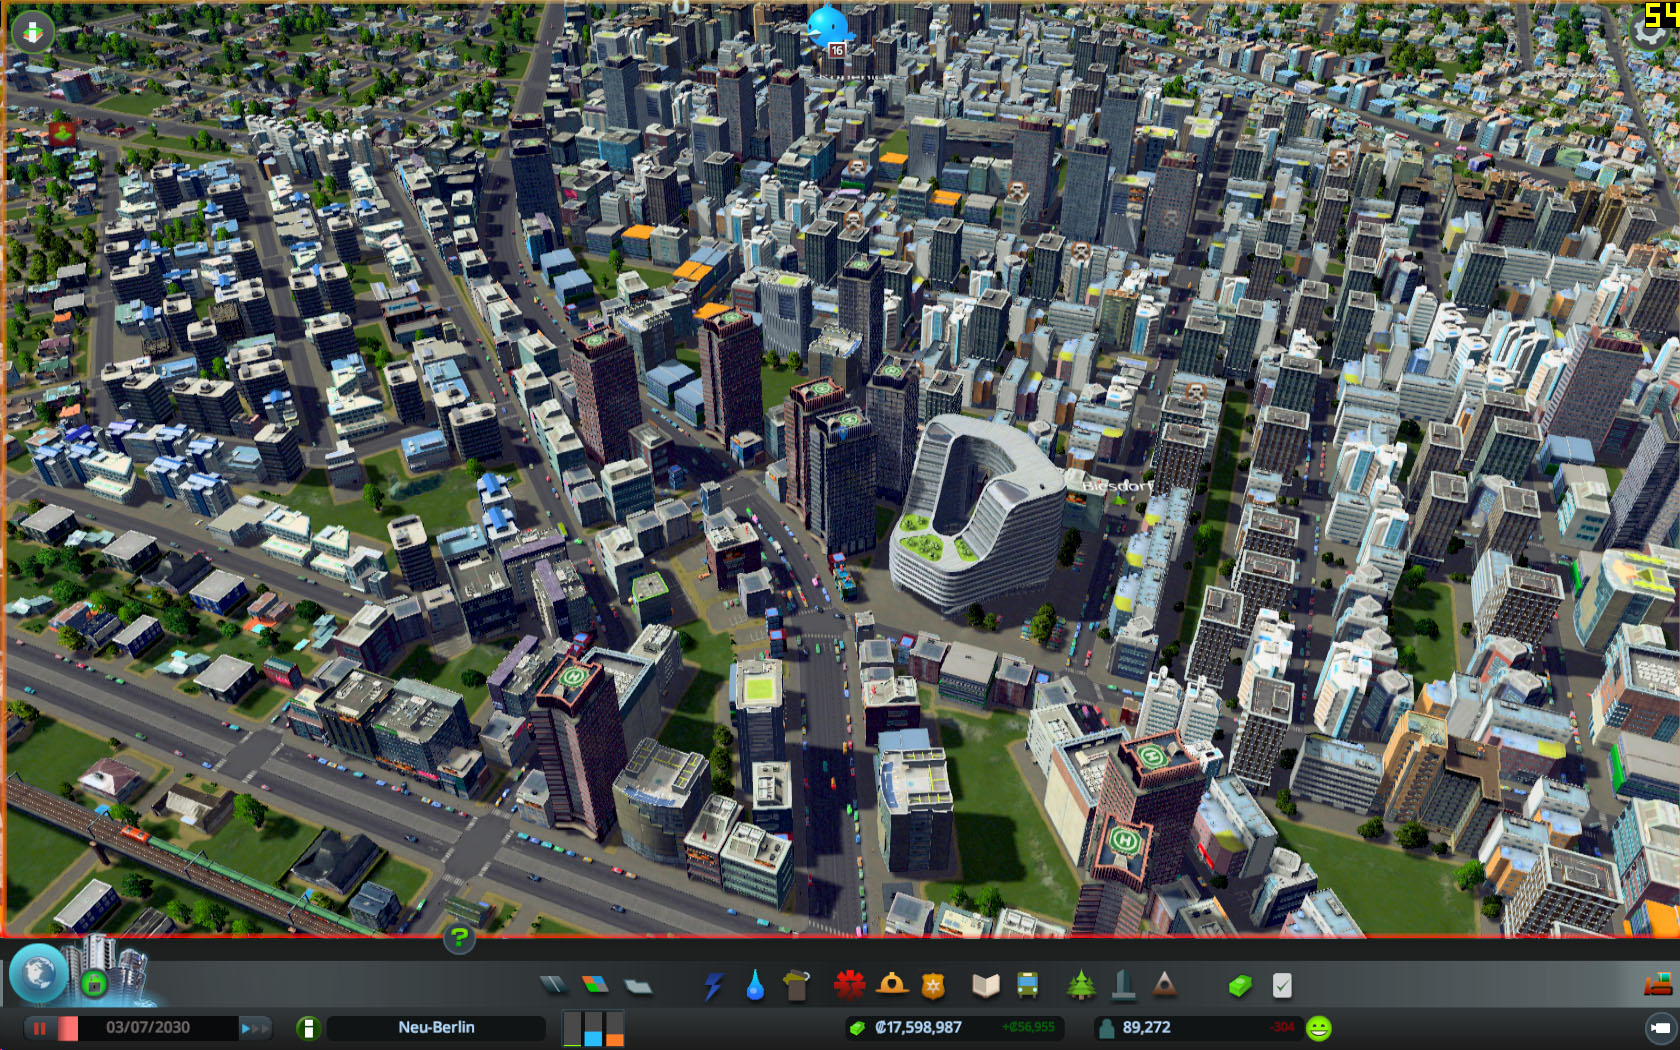
The three colored bars at the bottom of your screen—Residential (green), Commercial (blue), and Industrial (yellow)—are your city's heartbeat. These RCI bars show demand for each zone type. When a bar rises, zone that type; when it drops, stop building it. The system works in a cycle: residential zones create workers, industrial zones need those workers and produce goods, commercial zones sell those goods back to residents. Break this cycle, and your city stagnates.
Understanding demand triggers is essential. High residential demand means people want to move in, usually because you have jobs available. Commercial demand rises when residents need places to shop—the formula is roughly 1 commercial building per 8 residential buildings. Industrial demand appears when commercial zones need goods to sell. However, don't blindly follow the bars! If you zone too much industrial at once, you'll create unemployment when those buildings complete simultaneously. Land value determines building density and tax revenue—high land value near parks creates level 5 towers worth thousands weekly, while low land value near pollution creates level 1 houses worth minimal taxes. The formula is: land value = base + parks + services - pollution - crime - noise.
How to Read RCI Bars:
- Rising green bar: Zone more residential areas
- Rising blue bar: Add commercial zones near housing
- Rising yellow bar: Create industrial zones (or cargo terminals for imports)
- All bars low: Your city is balanced—focus on services
- Bars not moving: Check for problems like traffic or lack of workers
Land Value Boosters (Ranked by Impact):
- Parks and plazas: +10 to +50 land value in radius
- Public transport access: +15 land value
- Low crime: +20 land value
- Unique buildings/monuments: +30 to +100 land value
Critical Zoning Terms:
- Demand cap: Maximum zone height determined by land value
- Education level: Affects which jobs citizens can fill
- Level 5 high-density: Maximum building tier requiring land value >70
Traffic Management and Transportation
Traffic is the number one killer of cities in this game. When traffic flow drops below 80%, services can't reach buildings, causing abandonment cascades. The traffic AI follows realistic path finding—vehicles always choose the shortest route, not the fastest one. This means they'll queue up on a congested two-lane road rather than use your empty highway bypass. Your job is to guide traffic flow through hierarchy: highways for cross-city travel, arterial roads (six-lane) for district connections, and local roads (two-lane) for neighborhood access.
Master the basic rule: minimize intersections and maximize lane capacity on busy routes. Every intersection is a potential bottleneck because vehicles must yield. Use the road upgrade tool to add lanes before problems occur—prevention beats fixing gridlock. Roundabouts handle up to 400 vehicles per minute, while traffic lights max out around 200. One-way roads are game-changers: they eliminate crossing conflicts and let you create efficient highway on/off-ramp systems without traffic lights interrupting flow.Public transportation reduces traffic by up to 30% when implemented correctly. Buses work for local district circulation with stops every 8-10 building blocks. Metros excel at cross-city travel with stations spaced 30-40 cells apart. The golden rule: lines should connect residential areas to work zones. Keep bus routes to 6-8 stops maximum—15 stops generates minimal ridership because travel time becomes too long. Create hub-and-spoke networks where multiple lines intersect at major stations. Start with buses at $160/week per line, upgrade to metro at $480/week when traffic becomes critical.
Traffic Solutions by Problem Type:
Red roads (>75% capacity): Upgrade to higher lane count immediately Intersection backups: Replace with roundabout or traffic manager adjustments Highway congestion: Add parallel routes or use collector/distributor roads Service vehicles stuck: Create dedicated service roads near facilities Through-traffic: Build bypass routes around residential districts
Transportation Method Comparison:
- Bus: 30 passengers, slow, flexible routing, $160/week
- Metro: 180 passengers, fast, tunnel infrastructure, $480/week
- Train: 240 passengers, connects outside regions, requires tracks
- Tram: 90 passengers, shares roads, good for tourist areas
Traffic Capacity Terms:
- 400 vehicles/minute: Roundabout maximum capacity
- 200 vehicles/minute: Traffic light intersection capacity
- 80% flow: Minimum acceptable traffic percentage

Services, Education, and Citizen Life Cycle
Every service building has a coverage radius measured in "cells"—the invisible grid underlying your city. Fire stations cover approximately 30 cells, police stations reach 40 cells, and clinics cover 50 cells. Buildings outside coverage don't receive that service, leading to fires, crime, or sickness. The coverage overlay (accessed via info views) shows where you have gaps—use it religiously. A common mistake is building services reactively; instead, plan coverage zones before you zone residential areas.
Service vehicles operate on a dispatch system with this formula: response time = travel distance + service duration. Fire trucks must reach fires within 10 minutes (game time) or buildings burn down. Each service building has vehicle limits: a fire station deploys 10 fire trucks maximum, while a cemetery manages 10 hearses. When these vehicles are all busy, new requests queue—and long queues mean failed services.
Education transforms your city from basic industry to thriving metropolis. The system has four tiers: uneducated, educated (elementary), well educated (high school), and highly educated (university). Each tier unlocks different jobs and affects building upgrades. Educated citizens refuse low-level jobs, so balance education levels by mixing industrial types. Children attend elementary for one year, high school for another, then university for two years. After education, they work through adult and senior stages before death (around 6 in-game years total). Build schools before residential zones, not after complaints appear.
Essential Service Buildings & Coverage:
- Fire Station: 27 cells radius, 10 trucks, $500/week upkeep
- Police Station: 40 cells radius, 15 cars, $500/week upkeep
- Clinic: 50 cells radius, 30 patients, $400/week upkeep
- Elementary School: 30 cells radius, 300 students, $400/week
- High School: 40 cells radius, 1,000 students, $800/week
- University: Citywide, 4,000 students, $1,600/week
Service Optimization Steps:
- Open the appropriate info view (fire, police, health, education)
- Identify coverage gaps shown in red/dark areas
- Place new buildings at the edge of existing coverage
- Ensure service vehicles have clear traffic routes
- Monitor vehicle usage—if all vehicles are busy, add another facility
Education Impact Terms:
- Educated: Elementary school graduates, fill basic jobs
- Well educated: High school graduates, fill intermediate jobs
- Highly educated: University graduates, fill advanced jobs and offices

Budget, Milestones, and Financial Management
Your starting $70,000 cushion lets you operate at a loss while building population. The breakthrough comes at 500 citizens when you unlock taxation controls and more zoning options. Each milestone (population threshold) unlocks new buildings: 1,500 population gives you high schools, 5,000 unlocks fire helicopters, and so on up to 90,000 where all buildings become available.
The tax rate sweet spot is typically 11-13% for all zone types. Going higher generates more revenue but slows growth as citizens move out. Lower rates attract residents faster but strain your budget. Watch the weekly income bar chart: residential taxes form your stable base income, while commercial and industrial taxes grow as your economy develops. Key expense management: use the budget sliders to reduce service building budgets to 50% during low-demand hours (night for schools, day for monuments). This cuts costs without reducing service quality significantly.
Building level progression requires specific conditions. Level 1 to 2 needs basic services (power, water, fire coverage). Level 2 to 3 requires education coverage. Level 3 to 4 needs low crime and good land value. Level 4 to 5 (maximum) demands excellent land value, full services, and high-density zoning. Force upgrades by improving surrounding conditions—add parks, reduce traffic noise with sound barriers, and eliminate nearby pollution sources.
Milestone Unlocks You Need:
- Tiny Town (0-500): Basic zoning and services
- Small Town (500-1,500): Tax control, cemetery, bus depot
- Large Town (1,500-4,000): High school, recycling, rail
- Small City (4,000-7,500): Cargo harbor, metro, advanced wind
- Large City (7,500-12,000): University, monuments, policies
Budget Management Checklist:
- Monitor weekly income/expense in top-left corner
- Keep 2-3 weeks of expenses as emergency cash reserve
- Pause service building construction if income drops negative
- Use loans only for critical infrastructure (max $250,000 at 10% interest)
- Adjust service budgets between 50-150% based on usage patterns
- Zone gradually—let tax income catch up to expenses
Building Level Requirements:
- Level 1→2: Basic services (power, water, sewage)
- Level 2→3: Education coverage + garbage collection
- Level 3→4: Low crime + land value >30
- Level 4→5: High-density zoning + land value >70 + full services


Specialized Industry and Supply Chains
Your map contains four natural resources invisible until you toggle the Natural Resources info view: oil, ore, forestry, and fertile land. These resources enable specialized industry districts that produce more goods and create fewer garbage/pollution issues than generic industry. Place forestry industry over forest resources, farming industry over fertile land, ore industry over ore deposits, and oil industry over oil fields. These specialized zones create unique supply chains—forestry produces logs processed into planks and paper, while oil produces petroleum refined into plastics.
The specialized industry system operates in stages. Raw material extractors (oil pumps, mines, tree farms) feed into processing buildings (refineries, storage facilities), which then ship finished goods to generic industry or commercial zones. Each resource depletes over time—the info view shows depletion rates as percentages. An oil field might last 50 in-game years before exhausting, forcing you to import oil or relocate industry. The economic benefit is massive: specialized industry buildings generate 40% more tax revenue than generic industry at equivalent levels. However, they require cargo infrastructure—trains or harbors—to export surplus production efficiently.
To maximize industrial efficiency, create dedicated industrial districts away from residential zones to minimize pollution complaints. Use the district tool to paint areas, then apply industry specialization policies. Connect these districts to your highway system with arterial roads, and add cargo train terminals or harbor connections for import/export. Balance specialized and generic industry—generic industry processes goods from specialized districts and provides jobs for lower-educated workers.
Specialized Industry Resource Requirements:
- Forestry: Renewable resource, replants automatically
- Farming: Fertile soil (dark green areas), renewable
- Ore: Finite deposits, 30-60 year lifespan depending on richness
- Oil: Finite deposits, 40-80 year lifespan depending on richness
Setting Up Specialized Districts:
- Open Natural Resources info view to locate deposits
- Create a district over the resource area using the district tool
- Apply the appropriate industry specialization policy
- Zone industry within the district boundaries
- Add cargo train stations or harbor connections for exports
- Monitor resource depletion and plan transitions
Industry Revenue Terms:
- 40% more tax revenue: Specialized industry bonus vs generic
- Cargo infrastructure: Trains/harbors required for efficient exports
- Supply chain: Extractor → Processor → Generic industry/Commercial

Districts, Policies, and Advanced Management
Districts let you divide your city into manageable zones with custom policies. Create a district by painting an area with the district tool, then apply specialized policies from the district panel. Policies cost money but provide powerful benefits or solutions to specific problems. The High-Tech Housing policy increases land value by 20% but costs extra weekly upkeep. The Industry 4.0 policy reduces industry pollution by 50% in that district. Strategic policy use transforms problematic areas—apply Heavy Traffic Ban to residential districts to stop through-traffic, or use Free Public Transportin tourist areas to reduce car trips.
Citywide policies affect your entire city and unlock at various milestones. Recycling (unlocked at 1,500 population) costs 12¢ per citizen weekly but reduces garbage by 25%, extending landfill lifespans significantly. Smoke Detector Distribution costs 7¢ per citizen but reduces fire incidents by 20%. The math matters: at 10,000 population, recycling costs $1,200/week but might save you from building a second incinerator at $5,200/week—clear value. Some policies create trade-offs: Tax Relief increases happiness but decreases income, while Mandatory Overtime increases production but decreases happiness.
Success in Cities: Skylines comes from using all your tools together. Monitor your info views constantly—they reveal problems before citizens complain. The traffic view shows congestion, the land value view reveals where to place high-density zones, and the natural resources view guides industrial placement. Pause frequently using spacebar to plan major changes. Use the simulation speed controls wisely: normal speed for active building, fast speed for watching systems stabilize. Grow steadily at 50-100 new residents per week rather than explosive 1,000-citizen bursts that overwhelm services. Plan infrastructure before you need it—add schools, fire stations, and roads when you have budget surplus, not during crises.
Essential District-Specific Policies:
- Heavy Traffic Ban: Prevents through-traffic in residential areas
- High-Tech Housing: +20% land value, higher upkeep, needs educated citizens
- Industry 4.0: -50% pollution from industry, requires highly educated workers
- Old Town: Preserves historic buildings, attracts tourists
- Logistics Optimization: -10% truck traffic from industry
Powerful Citywide Policies:
- Recycling: Reduces garbage by 25%, costs 12¢ per citizen weekly
- Smoke Detector Distribution: Cuts fire frequency, costs 7¢ per citizen weekly
- Free Public Transport: Eliminates fares, increases ridership dramatically
- Recreational Use: Increases happiness and tourism
- Educational Blimps: Slowly educates all citizens citywide
Policy Cost Calculation:
- Cost per citizen × population: Formula for citywide policy expenses
- 12¢ × 10,000 = $1,200/week: Example recycling policy cost
Balance cost vs benefit:
- Compare policy expense to alternative building costs
Field Guide Master Tip:
Cities Skylines rewards planning over rushing. Pause frequently (spacebar), study your info views, and build infrastructure before you need it. The most successful cities grow steadily at 50-100 new residents per week, not in explosive 1,000-citizen bursts that overwhelm your services. Master one system at a time—start with basic zoning and services, then add complexity as you understand the underlying mechanics.

